The HackMii Installer
By this point, you are now at the HackMii Installer scam screen. It looks something like this:
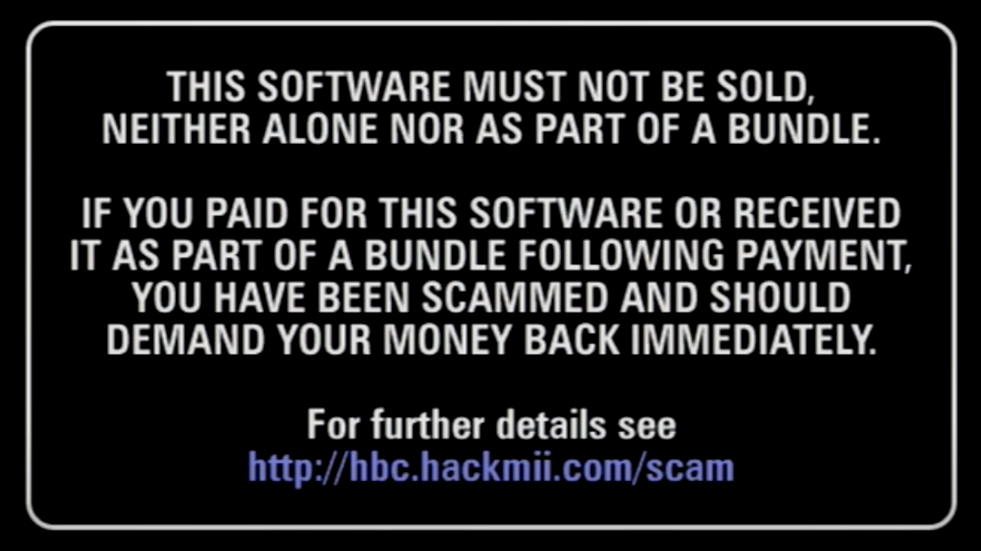
After about 30 seconds sitting on this screen, a small message will appear at the bottom telling you to press 1 to continue. Go ahead and do that.
Once you press 1, you will be greeted by the following screen, or something very similar. The only difference will be next to BootMii. It will either say Can be installed or Can only be installed as an IOS. Take note of which one you see.
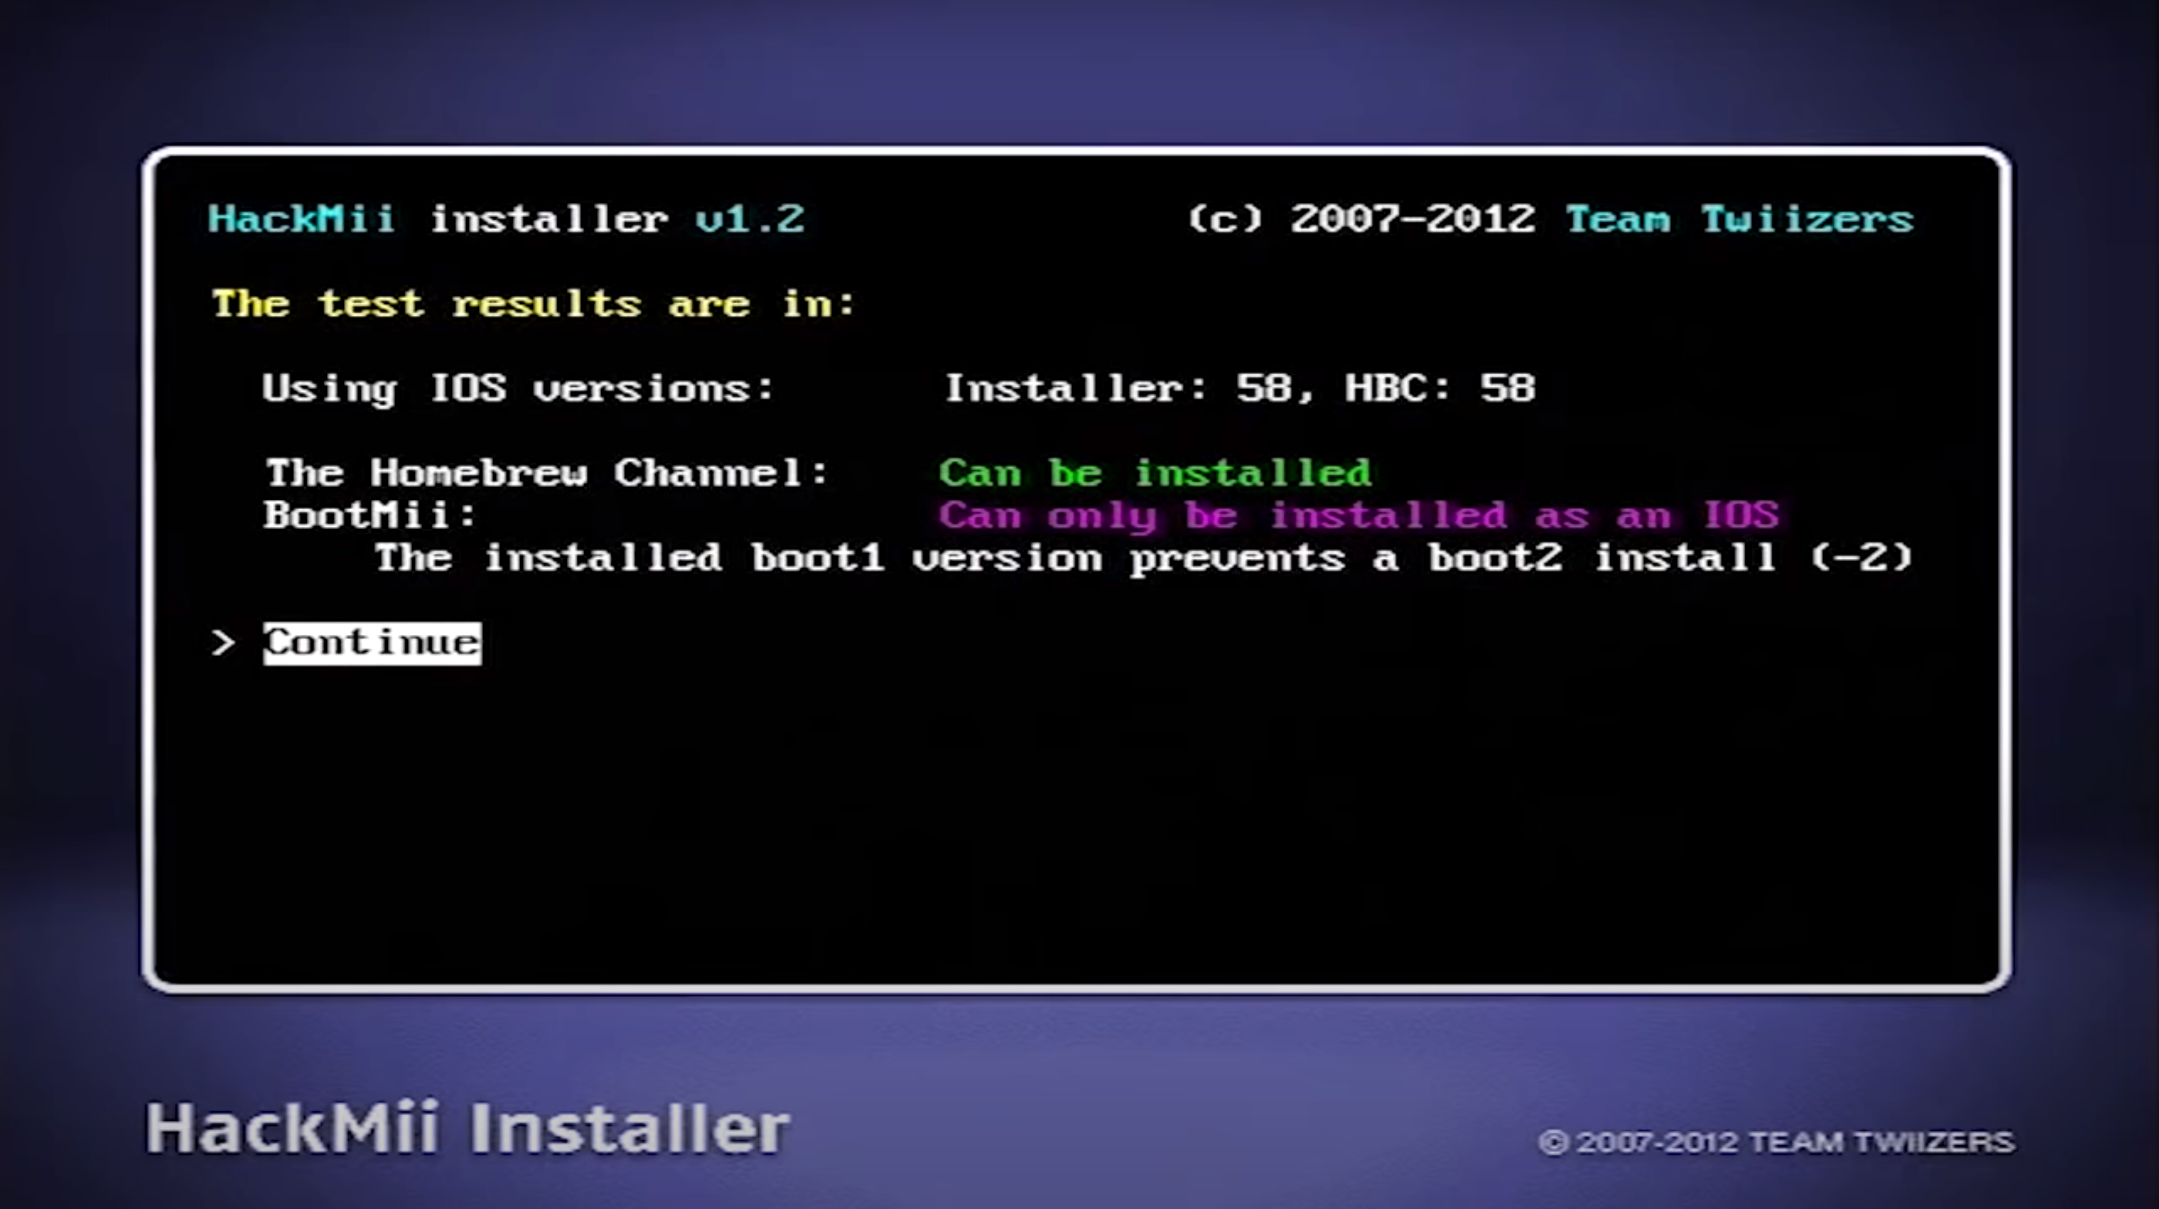
Press A to continue. On the next screen, choose Install The Homebrew Channel.
Once it is completed, press A to return to the previous screen.
BootMii
This section requires that you have an SD card formatted as FAT32 inserted in your Wii. If you do not, we highly recommend you get one, as BootMii is a very helpful tool. Otherwise, you may skip this section.
BootMii is another homebrew program that is capable of backing up and restoring your Wii’s NAND storage, among other things.
Highlight the BootMii section, and press A to go into it.
Choose the Prepare an SD Card option. Once it has completed, press A to return to the BootMii section.
Next, if you have the option, install BootMii as boot2. Once it’s done, press A to return to the BootMii section.
Install BootMii as an IOS. Then, after it’s complete, press A to return to the BootMii section.
You can now exit the BootMii section.
Finally, now you can exit the HackMii Installer by highlighting the Exit option and pressing A. You will then be sent to the Homebrew Channel.
Once you have exited the HackMii Installer, you can now continue on to installing Priiloader